Showing posts with label 12 days of christmas treats. Show all posts

Friday, December 23, 2011

Day 12: Classic Sugar Cookies

What better way to end a countdown than with your classic sugar cookie. Santa will be thrilled to find these cookies on Christmas Eve:-) I found this recipe from Martha Stewart's website. They are definitely a must try. They are perfect cut out cookies that taste really good.

Recipe:

  • 4 cups sifted all-purpose flour
  • 1 teaspoon baking powder
  • 1/2 teaspoon salt
  • 1 cup (2 sticks) unsalted butter, room temperature
  • 2 cups granulated sugar
  • 2 large eggs
  • 2 teaspoons pure vanilla extract

Sift together the dry ingredients. In a large bowl cream the butter, sugar, vanilla extract and eggs. Add in the flour mixture.

 Form the dough into a large ball and wrap. Place in the fridge for 3 hours or overnight.


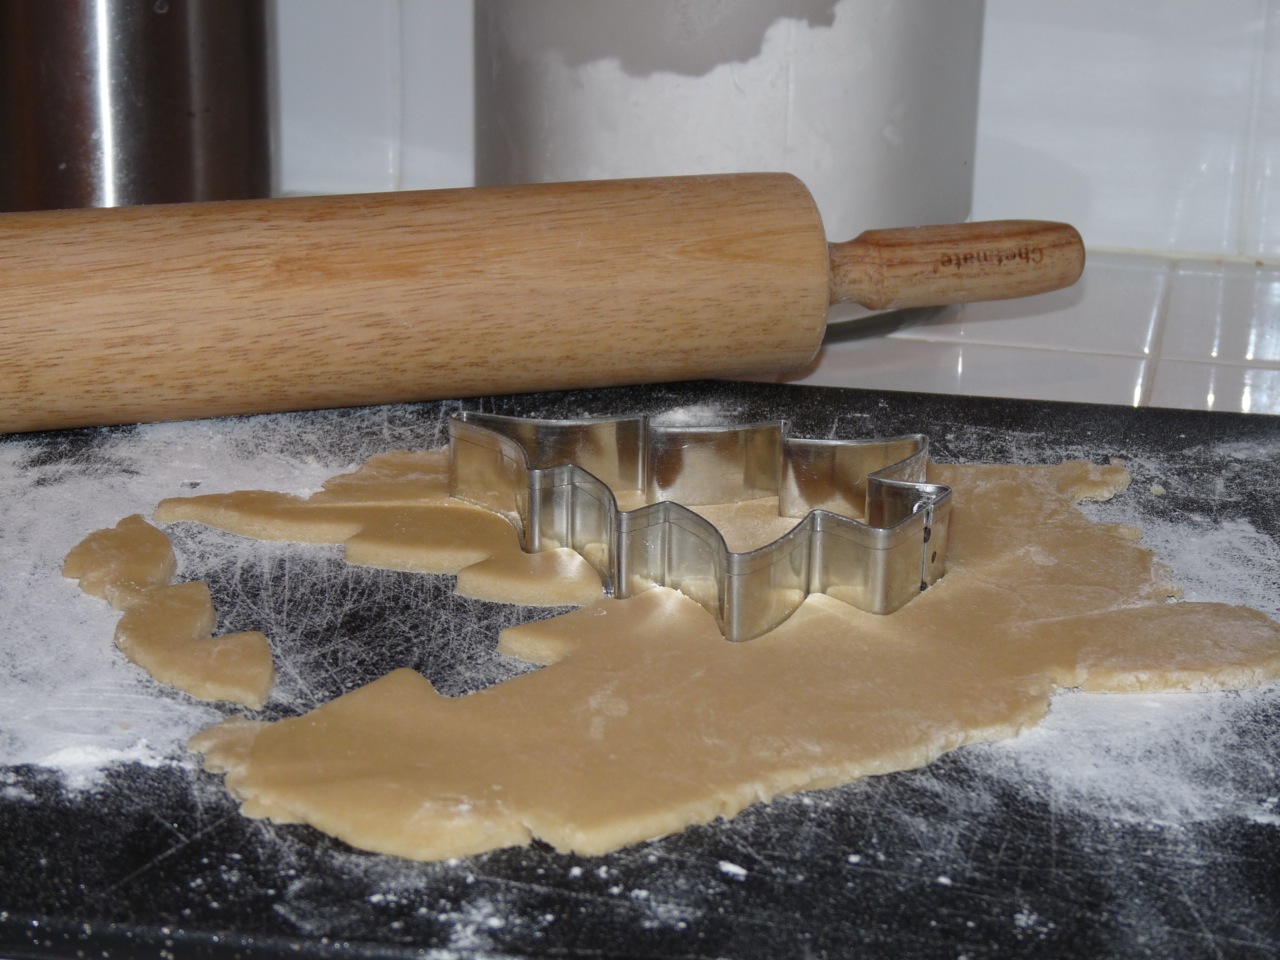
 When your dough is ready, preheat the oven to 325 degrees. Let the dough sit at room temperature for about 10 minutes to soften. Roll out dough on a floured surface and cut out fun shapes with your cookie cutters. Bake for 10 minutes or until the edges are lightly golden. Don't over-bake!

 Four frosting we did a simple cream cheese frosting and dyed it in yellow and green for our cookies. Use whatever frosting you love or feel free to look at past recipes and choose one.:-)

 Frosting and decorating is the best part of sugar cookies. One of our family Christmas Eve traditions is to make cookies together and place them out for Santa.

We hope you have enjoyed our 12 Days of Holiday treats. We have had a lot of fun making these recipes for you and hope you have enjoyed making them as well. This is us signing out until the New Year.

From our kitchen to yours, Merry Christmas & Happy New Year!! Enjoy!

Thursday, December 22, 2011

Day 11: Semi-homemade Peppermint Crinkles

We hear you, you're enjoying all these fun treats that have been posted but you just haven't had time to make anything. It's the holiday season which also includes a full work week before Christmas. Let's not forget the dreaded trip to the mall for last minute shopping or heaven forbid the post office. Here's a recipe for you that requires no effort. In fact, it includes store bought cookie dough...*GASP*. Hehe. I know I mentioned I'm not a huge fan of store bought dough but when I made these cookies I have to say they turned out pretty darn good.

Recipe:
1 package peppermint sugar cookie dough
1/2 C powdered sugar
4 candy canes, crushed

Preheat oven to 350 degrees
Roll dough into small balls and covered with powdered sugar.


Place on cookie sheet and using your palm flatten cookie. Bake for 8-10 minutes.


Crush candy canes and place in small bowl.


While the cookies are cooling, sprinkle the tops with the crushed candy.


How easy was that right? If you have 20 minutes to spare in your very busy schedule you can make these cookies. Eat them for yourself, place them out for Santa or give them away to your neighbors:-)


Enjoy!

Wednesday, December 21, 2011

Day 10: White-Chocolate Cherry Shortbread

I can't believe we are already at Day 10. That means Christmas is almost here. Here's a delicious cookie that combines cherries and white chocolate to make this exquisite cookie. I found it on Pinterest (Better Home & Gardens) It's very simple to make and has only 6 ingredients and no eggs.

Recipe:
1/2 C maraschino cherries, drained and finely chopped
2 1/2 C Flour
1/2 C Sugar
1 C cold butter, cut in large cubes
12 ounces white chocolate baking squares with cocoa butter, finely chopped
1/2 tsp. almond extract

Pre-heat over to 325 degrees
Finely chop the cherries and set aside preferably on a paper towel. Finely chop 8 ounces of the white chocolate. Set aside.

 In a large bowl combine the flour and sugar. Add the cubed cold butter. Using a pastry cutter, cut the butter into the flour until the mixture resembles fine crumbs.


 Add the cherries, white chocolate and almond extract. Mix together.

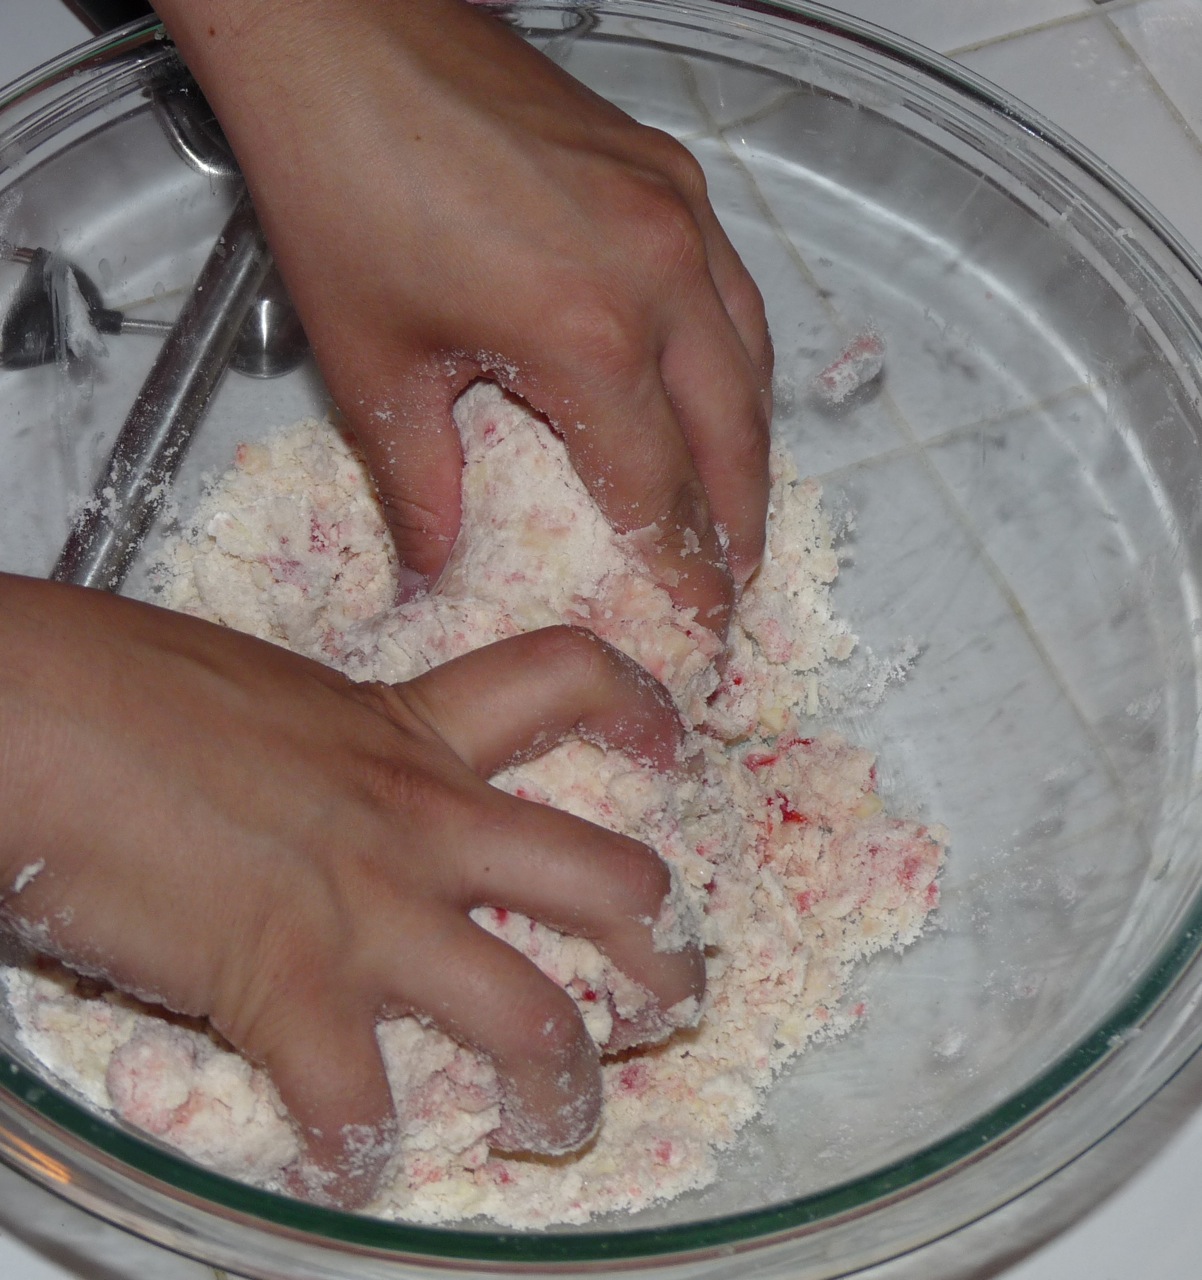
 Using your hands, knead the mixture until dough forms. It will start out feeling pretty pretty dry but by the end the dough should come together easily.

 Form into balls and place on an ungreased cookie sheet. Press each ball down with the bottom of a glass. Bake for 9-10 minutes.

 Once the cookies are down and cooling, start melting the remaining white chocolate. So we used a baking white chocolate bar for inside the cookies and used white chocolate chips to melt. Whatever is easiest for you. The easiest way to melt chocolate is to place it in a microwave safe bowl and heat it in the microwave for 15 seconds. Stir and then heat again for 10 seconds. Stir. Heat for 10 seconds. Repeat until the chocolate is completely melted. Do not over cook!

 Dip each cookie in the melted chocolate and let cool on a piece of wax paper or on a wire rack with a paper towel underneath. At this point you can also decorate the cookie by place the chocolate side of the cookie in sprinkles or edible glitter.

 Another trick is to put red food coloring in the dough so the cookies are completely red. Skies the limit:-) I had to rush the last few pictures because i was trying to get them out the door for K to take to the hospital. Though the pictures aren't fantastic, the cookies were very good. It was our first time making them and I really love them. They will definitely be making a re-appearance come Valentines Day:-)

Enjoy!

Tuesday, December 20, 2011

Day 9: Homemade Peppermint Swirled Marshmallows

 Remember when we made these during Halloween?
We're making marshmallows again but with a Christmas twist. Instead of adding vanilla we added peppermint extract & red swirls. Here's how we did it...


Follow the directions from before by clicking here. Once you start whipping the hot sugar mixture with the dissolving gelatin come back here for the rest of the instructions.

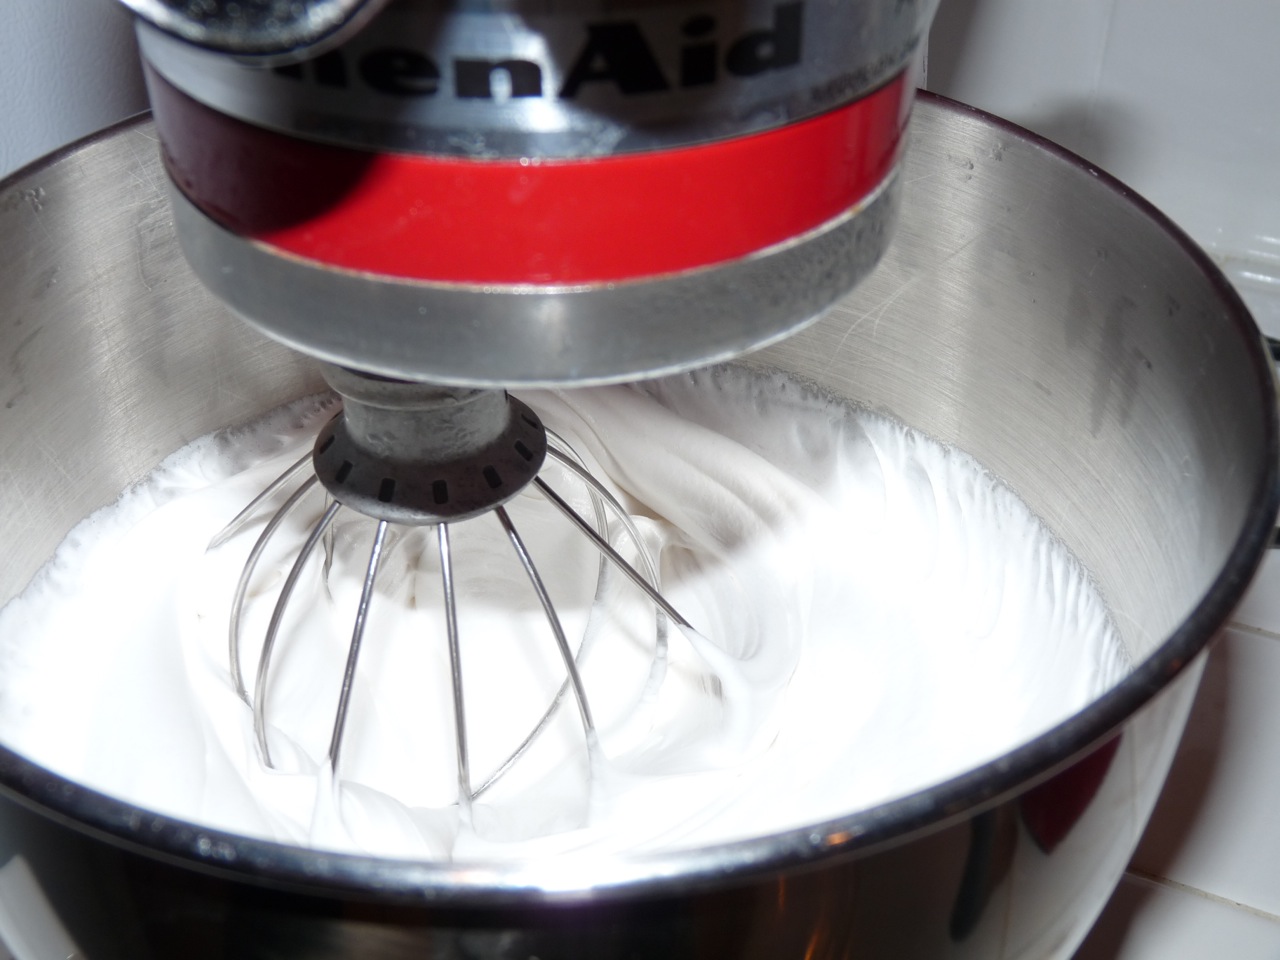
While the sugar mixture is whipping for 6-10 minutes add 1/2 Tsp of peppermint extract.

Once the mixture is 2-3X it's size, add the egg whites. Mix gently until the eggs white are incorporated but don't over mix.

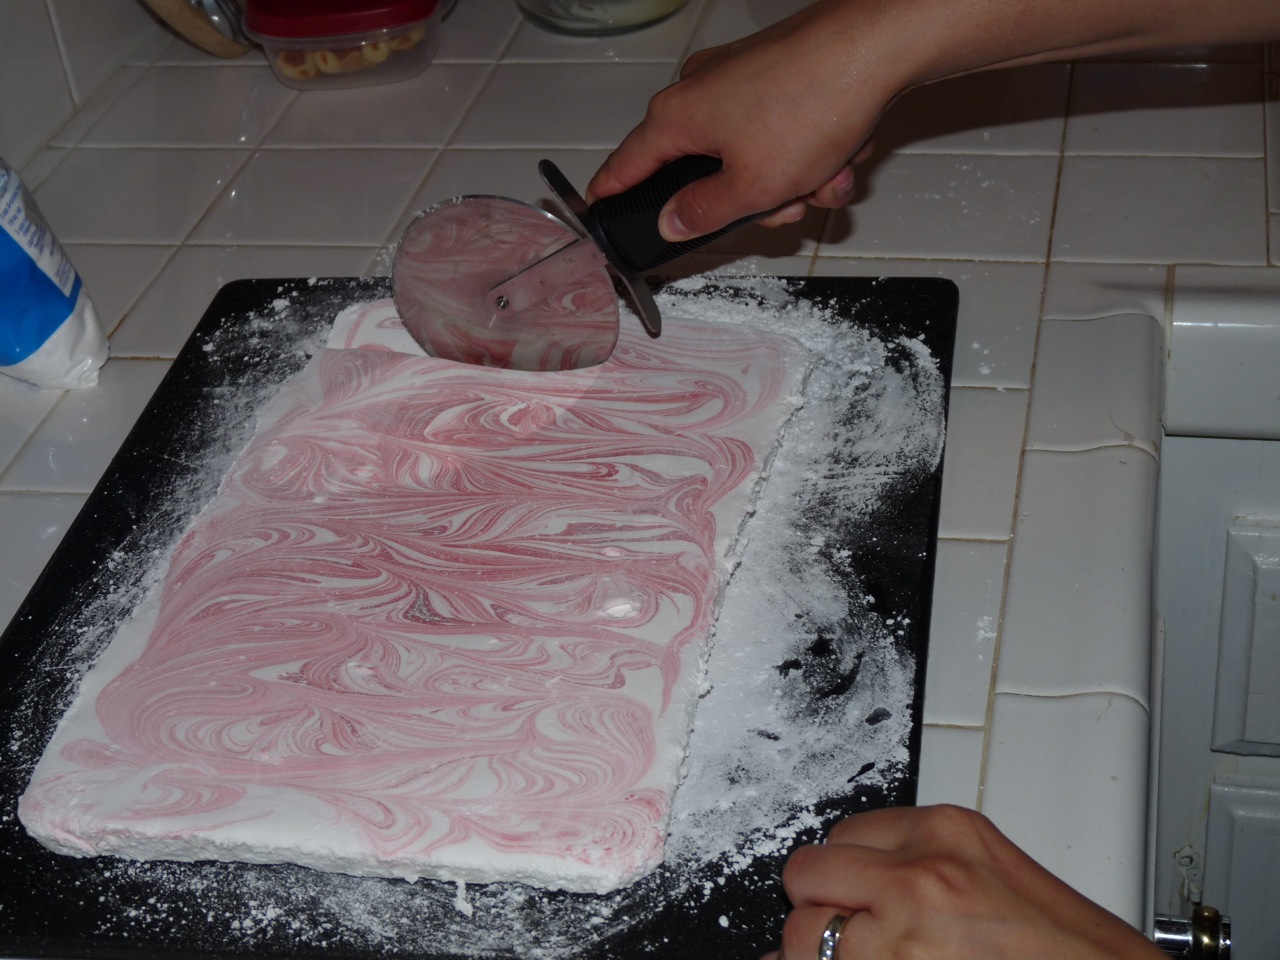
Pour marshmallow batter into the baking pan lined with powdered sugar. Place drops of red food coloring over the top. Using a knife swirl the red food coloring around until you get a swirly/ marble look.

Using a pastry brush spread a small layer of powdered sugar on the top. Place the pan uncovered in the fridge for at least 3 hour preferrably overnight.

Use a sharp knife and cut along the edges of the pan. Slowly peel the marshmallows out of the pan.

Cut into squares using a pizza cutter and roll in powdered sugar to get rid of the sticky outsides.

Enjoy these in hot chocolate or give away as gifts. They are so delicious and truly taste like Christmas. Fluffy and light yet sweet with the hint of peppermint. You will look like a rockstar giving these tasty treats to friends and family.
Enjoy!!

Monday, December 19, 2011

Day 8: Slow Cooked Stuffed Apples


There is nothing like hot apple cider brewed fresh on a cold winters night. I know a lot of people prefer hot cocoa but truth be told, I'm (as in Bekah) not a huge chocolate fan. I know, shocker! :-) I saw this idea on Pinterest and decided to try it out. I created this simple recipe myself but feel free to add walnuts or raisins to your liking.

Recipe:

4-6 Apples, cored
1/2 C brown sugar
1 Tsp cinnamon
1/4 Tsp nutmeg
1/2 Tsp lemon juice
1 C apple cider or apple juice

Mix together the brown sugar, cinnamon & nutmeg.

I love when Honey Crisp apples are in season and used these apples for this recipe.
Core the apples and peel the top off the apple. I cored the top and insides but I left the bottom of the apple intact. I did this so the cinnamon mixture could really bake into the apple. Use a pastry brush and brush the lemon juice on the top of the cored apple. 
 Stuff the cinnamon mixture generously into the apples, about 2- 3 Tbl per apple. Place the apples into a slow cooker and add the apple juice/cider. If you want, I'm sure spiced cider would taste excellent as well. At the store I found Honey Crisp apple cider and was excited to pair it with my Honey Crisp apples:-)

 Cook the apples on high for 2-3 hours or until golden and tender.

It was hard to capture how divine these apples were. After cooking for an hour the house had an amazing apple/cinnamon aroma that was mouth watering. The apples were so tender, juicy and started to fall apart as I took them out of the crock pot into a bowl. I whipped up some whipping cream with heavy whipping cream, some vanilla and a dash of cinnamon. I loved making this dish. It was very simple, mouth-watering and amazing.
Enjoy!

Sunday, December 18, 2011

Day 7: Santa Hat Brownie Bites


Remember our "Better than Box Brownie" recipe? Well, you're going to need it for our next tasty treat. Click here for the recipe and return when you're ready to place the brownies in a pan!

Additional items needed:
1 Carton of Strawberry
1 Can of whip cream
Pre-heat oven to 350 degrees.
Instead of placing the brownies in a baking pan we baked them in a mini cupcake pan. Grease the mini cupcake pan and fill with the brownie batter. Bake at 350 degrees for 20-25 minutes.

When the brownies are done, let them rest/ cool on a wire rack. While the brownies are cooling, cut of the tops of the strawberries.

Once the brownies are cool, put a nice layer of whip cream on top. Add the strawberry and put another little bit of whip cream on the tip of the strawberry. There you have it, Santa Hats!:-) These are so cute and fun. Instead of whipping cream, you can also melt white chocolate and put that in a pastry bag and pipe it onto the brownie. Either way is delicious!

Enjoy!

Saturday, December 17, 2011

Day 6: Hot Strawberry "Cocoa"

Those who know me or follow our blog know that I'm obsessed with strawberries. So I'm sure no-one is surprised we have a couple of strawberry treats on the countdown:-) I saw this recipes on Pinterest (Babble-Family Kitchen) and Kyle made it for me. It's basically a hot milkshake but thinned out like Hot Chocolate. We rimmed the mugs with chocolate, added whip cream and chocolate sprinkles and found ourselves in love with this new dessert drink on a cold winter's night.

Recipe:
4 Tbl Butter
1/2 C Sugar
1 Pint strawberry ice cream
4 C water
Whipped cream
1 C mini chocolate chips


Pour the chocolate in a microwave-safe bowl and 5 seconds at a time melt the chocolate chips and stir.

Once the chocolate is melted, dip the rims of you mugs into the chocolate.


In a medium pot, whisk the butter, sugar and ice cream together. Whisk in the water one cup at a time. You can add more water if the mixture is too sweet or less water if not sweet enough. It's really up to your tastebuds.

Heat just until steaming.

Add to your chocolate-rimmed mugs and add whipped cream. Serve. I found this sweet treat very yummy. My favorite ice cream warming me up on a cold night? Perfect!!


Enjoy!