

Growing up we were always excited for my mom to make these cookies for Easter. I never understood why she only made them once a year until I decided to make them for B one year. They really are delicious, but they are time consuming. It's not that they are hard to make, it just takes time with the glaze and the frosting decorations. So just a warning, these will take some time to make, but I promise the results will be well worth it and everyone will be mondo impressed with you.
Recipe
Cookies:
1C shortening
1 C sugar
2 eggs
1 C buttermilk
2 tsp baking powder
1/4 tsp salt
1tsp baking soda
5 cups flour
Preheat the oven to 350 degrees. Cream together the shortening and sugar, add the eggs and mix well.

If you don't have buttermilk you can make you own. Just add 1TBS vinegar to a 1C measuring cup and fill it the rest of the way with milk. Let it sit for a couple of minutes and you can use it as you would buttermilk. Add the buttermilk to the batter and slowly mix together.

In a separate bowl sift together the baking powder, salt, baking soda and flour. Slowly add these to the mix until a soft dough forms.

Roll the dough out onto a floured surface until about 1/4in thick. Use a cookie cutter to cut into eggs.

Place the cookies on a cookie sheet and bake at 350 for 7-10min. The trick is to get the cookies just done enough, if you bake them too long they get dry and if you don't bake them long enough they come out chewy and dense. You want them to just barely have a hint of turning golden brown on the edge. Let the cookies cool for a few minutes and then remove them from the sheet and let them cool completely before frosting. You can make the cookies the night before and store them in Tupperware overnight.

Glaze
6 C powdered sugar
1/3 C corn syrup
1 TBS vanilla
3 TBS butter
1/2 C water
1 TBS almond extract
Food coloring
In a sauce pan melt the butter, sugar, corn syrup and water on med-low heat, stirring constantly. Add the vanilla and almond and mix well.

Add a few drops of food coloring and stir until it is an even color and consistency. Remove from the heat.

Now the fun part begins. Take each cookie and carefully dip the front of it into the glaze. Be very careful because the glaze is hot and you may burn your fingers. You can also use a measuring cup to pour the glaze over the cookie. Just try it out until you find the way that works best for you.

Allow the excess glaze to drip back into the sauce pan. As you dip the cookies the glaze will start to thicken as it cools, if it get too thick just place it back on med-low heat stirring constantly until desired consistency.

Place the cookies on a cookie rack or wax paper and allow them to dry completely.

Icing
3 TBS shortening
3+ C powdered sugar
1tsp almond extract
water as needed
food coloring
In a mixer beat the shortening, sugar and almond. Slowly add water a TBS at a time and whip until the frosting is creamy and smooth. If you add too much water you can add more sugar and keep adjusting it until you get a good consistency.

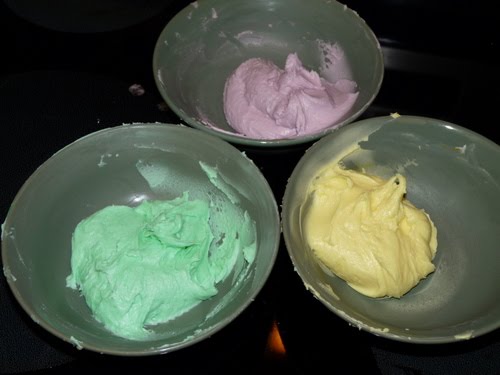
Separate the frosting into bowls and add food coloring of your choice.

And there you have it, yummy Easter cookies that everyone will enjoy. Like I said at the beginning, these cookies will take some time, but I guarantee you will LOVE them. The recipe makes about 3 dozen depending on the size of your cookie cutter, but they usually don't last for very long.You can also use this recipe for other holidays or special occasions as well.

0 comments:
Post a Comment